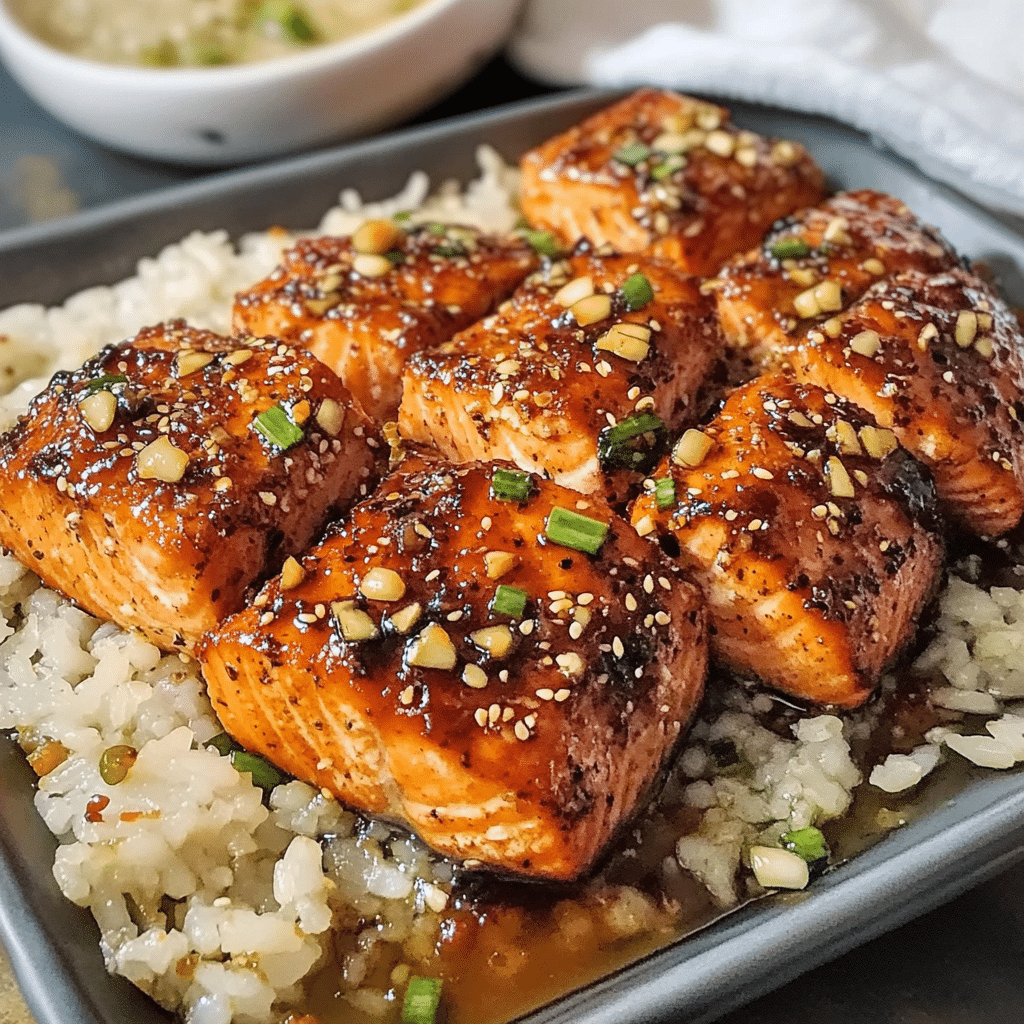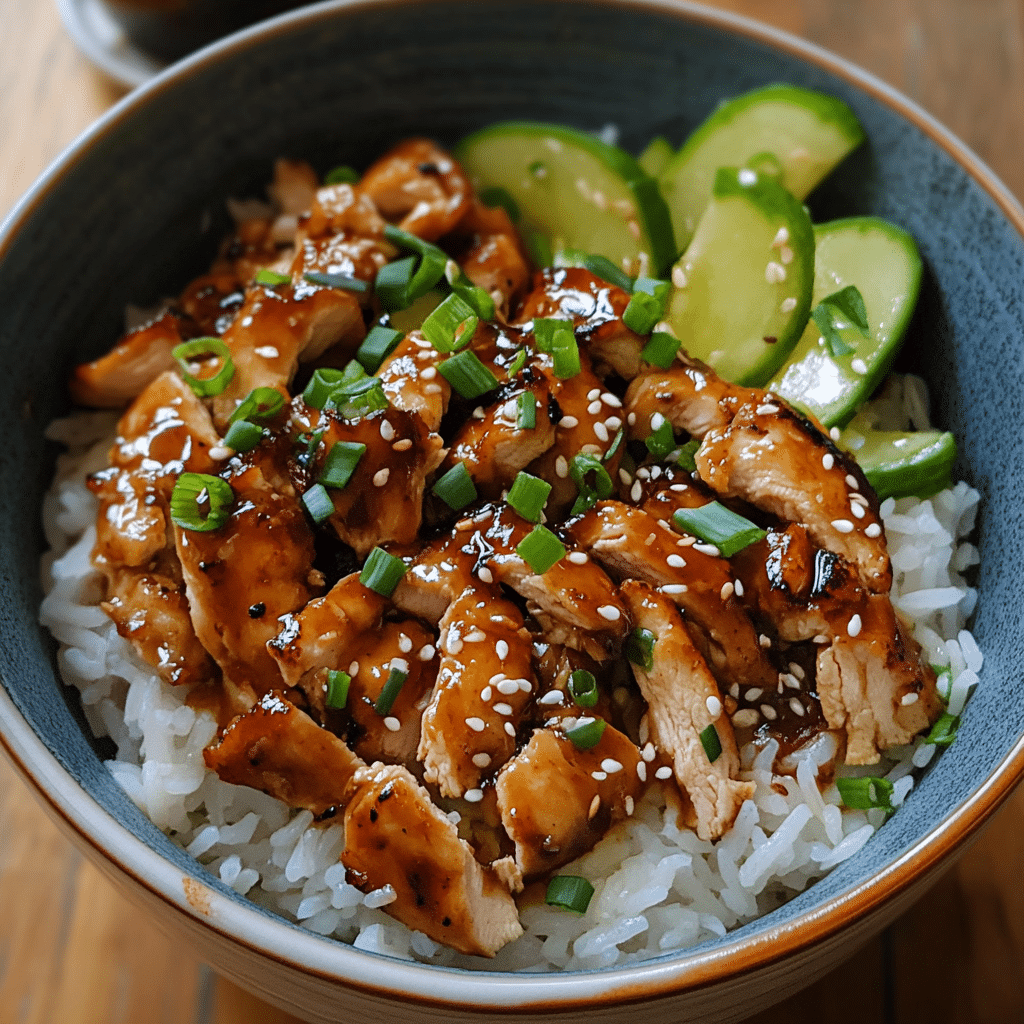

20-Minute Oyakodon is an amazing dish that captures the essence of Japanese comfort food. This delightful rice bowl combines chicken and eggs, creating a rich and savory experience that warms both the body and soul. Imagine tender chicken simmered to perfection in a delicate broth, topped with soft, fluffy eggs. The combination is utterly satisfying, allowing you to indulge in a delicious meal without spending hours in the kitchen.
Quick to prepare and wonderfully flavorful, 20-Minute Oyakodon is perfect for busy weeknights, lazy weekends, or even special occasions. Not only is it simple to make, but it also requires only a handful of ingredients, making this recipe accessible for everyone. If you’ve ever craved the comforting taste of a traditional Japanese dish, you’ll certainly enjoy making and devouring this easy Oyakodon recipe.
In this guide, we will explore the wonderful components of 20-Minute Oyakodon, why you’ll love it, the necessary ingredients, and the step-by-step instructions to help you create this fantastic dish. Let’s dive into what makes 20-Minute Oyakodon a must-try recipe in your cooking repertoire!
Why You'll Love This Recipe
There are many reasons why you will fall head over heels for this 20-Minute Oyakodon recipe! Some of these reasons include:
- Quick and Easy: As the name suggests, this dish can be made in just 20 minutes, making it perfect for an impulsive dinner.
- Minimal Ingredients: Made with basic pantry ingredients, you'll likely have everything you need on hand.
- Comfort Food at Its Best: This dish offers the warm, comforting qualities we often seek in our meals.
- Versatile Options: You can easily replace chicken with other proteins or add your favorite vegetables for a personal touch.
- Kid-Friendly: This dish is well-suited for children, thanks to its appealing flavors and textures.
- Satisfies Hunger: The combination of rice, chicken, and eggs will keep you full and happy.
These factors contribute to the allure of 20-Minute Oyakodon, ensuring it becomes a staple in your kitchen.
Preparation and Cooking Time
Preparing 20-Minute Oyakodon is incredibly efficient. Here’s a breakdown of the necessary time to create this delightful dish:
- Preparation Time: 5 minutes
- Cooking Time: 15 minutes
- Total Time: 20 minutes
This swift cooking time makes it an excellent choice for busy individuals and families who still want a delicious home-cooked meal.
Ingredients
- 2 cups cooked rice (white or brown)
- 1 cup chicken thighs (boneless, skinless, and diced)
- 3 large eggs
- 1/4 cup dashi broth (or chicken broth)
- 2 tablespoons soy sauce
- 1 tablespoon mirin (or sake)
- 1 tablespoon sugar
- 1 green onion (sliced, for garnish)
- A pinch of salt and pepper
- Optional: cooked vegetables (like mushrooms or peas)
Step-by-Step Instructions
Creating 20-Minute Oyakodon is straightforward when you follow these simple steps:
- Prepare the Broth: In a medium bowl, combine the dashi broth, soy sauce, mirin, and sugar. Stir until the sugar is dissolved.
- Cook the Chicken: In a non-stick skillet, heat a small amount of oil over medium heat. Add the diced chicken, seasoning it with salt and pepper. Cook until the chicken is browned and cooked through, approximately 5–7 minutes.
- Add Broth: Pour the prepared broth mixture over the cooked chicken in the skillet. Bring it to a light simmer.
- Add Eggs: In a separate bowl, beat the eggs until they are well combined. Slowly pour the beaten eggs over the simmering chicken and broth.
- Cook the Eggs: Allow the mixture to simmer gently until the eggs are set, approximately 2–3 minutes. Do not stir; let the eggs cook until they form a soft layer over the chicken.
- Serve over Rice: Spoon cooked rice into bowls, then gently top each bowl with the chicken and egg mixture.
- Garnish: Finish with sliced green onions on top for a fresh, vibrant presentation.
- Enjoy: Serve while hot and enjoy this comforting dish.
By following these easy steps, you'll have a delicious 20-Minute Oyakodon that impresses without the stress!
How to Serve
To elevate your dining experience with 20-Minute Oyakodon, consider the following serving suggestions:
- Presentation: Use deep bowls to highlight the beautiful layers of chicken and egg over the rice.
- Side Dishes: Pair your Oyakodon with a light side salad or miso soup for a complete meal.
- Garnishes: Enhance the dish with additional garnishes such as sesame seeds or nori strips for added texture and flavor.
- Spice Options: For those who enjoy a kick, offer shichimi togarashi or chili flakes on the side.
- Individual Portions: Serve in individual portions for family gatherings or when entertaining guests to make it more personal.
By implementing these techniques, you can transform your 20-Minute Oyakodon into a meal that’s both delightful and memorable!
Additional Tips
- Preparation is Key: Have all your ingredients prepped and ready before starting the cooking process. This will streamline your workflow and prevent any last-minute scrambles.
- Use High-Quality Chicken: Opting for fresh, high-quality chicken will enhance the overall flavor of your 20-Minute Oyakodon.
- Broth Options: While dashi is traditional, using high-quality chicken broth will provide a similar umami flavor if dashi is unavailable.
- Experiment with Seasoning: Feel free to adjust the soy sauce and mirin ratios according to your taste. Add a dash of sesame oil for an aromatic twist.
- Texture Preference: For a creamier texture, whisk the eggs thoroughly instead of just beating them lightly.
Recipe Variation
Switch up your 20-Minute Oyakodon by trying these variations:
- Vegan Version: Substitute chicken with tofu or tempeh and replace eggs with silken tofu or chickpea flour scrambled to achieve a similar texture.
- Seafood Option: Use diced shrimp or salmon for a delicious seafood twist on the classic dish.
- Vegetable-Loaded: Add a mix of vegetables such as bell peppers, carrots, or snap peas to boost nutrition and flavor.
- Spicy Oyakodon: Incorporate sliced jalapeños or a dash of chili oil to add some heat to your meal.
- Mixed Protein: Combine chicken with another protein like beef or pork to create a meatier version.
Freezing and Storage
- Storage: Keep any leftover Oyakodon in an airtight container in the refrigerator. It should stay fresh for 2–3 days.
- Freezing: While not ideal, you can freeze the chicken and egg mixture separately for up to one month. When reheating, do so gently to maintain the eggs' texture.
- Reheating: When ready to serve, thaw in the refrigerator overnight and reheat in a skillet on medium heat, adding a splash of water to keep it moist.
Special Equipment
You won’t need much equipment to make 20-Minute Oyakodon, but having the following tools can help:
- Non-Stick Skillet: Ensures that the chicken and eggs cook evenly without sticking.
- Mixing Bowls: For preparing the broth and beating the eggs.
- Spatula or Wooden Spoon: To stir the mixture gently without breaking up the eggs too much.
- Rice Cooker (Optional): For perfectly cooked rice, although it can also be prepared on the stove.
- Measuring Cups and Spoons: To ensure accurate ingredient measurements.
Frequently Asked Questions
Can I use leftover chicken for Oyakodon?
Yes, leftover cooked chicken can be used. Just adjust the cooking time accordingly.
Is there a gluten-free version?
Certainly! Use gluten-free soy sauce to make a gluten-free version of this comforting dish.
What can I serve with Oyakodon?
It pairs well with a light salad, pickles, or miso soup. These side dishes enhance the meal without overshadowing the Oyakodon.
Can I double the recipe?
Absolutely! Just be mindful to use a larger skillet and adjust cooking times accordingly.
What do I do if the eggs get overcooked?
To prevent overcooked eggs, keep the heat low and check consistently as they cook. If they do overcook, the dish will still taste great, but the texture might differ.
Conclusion
20-Minute Oyakodon is a quick, comforting, and satisfying meal that brings the tastes of Japan right to your home. The balance of tender chicken, silky eggs, and warm rice creates an inviting dish perfect for any occasion. Plus, with its simplicity, you can easily adapt the recipe to suit your dietary preferences or ingredient availability. Give this delightful dish a try, and it is sure to become a favorite in your kitchen!

20-Minute Oyakodon: An Incredible Ultimate Recipe
- Total Time: 0 hours
Ingredients
- 2 cups cooked rice (white or brown)
- 1 cup chicken thighs (boneless, skinless, and diced)
- 3 large eggs
- 1/4 cup dashi broth (or chicken broth)
- 2 tablespoons soy sauce
- 1 tablespoon mirin (or sake)
- 1 tablespoon sugar
- 1 green onion (sliced, for garnish)
- A pinch of salt and pepper
- Optional: cooked vegetables (like mushrooms or peas)
Instructions
Creating 20-Minute Oyakodon is straightforward when you follow these simple steps:
- Prepare the Broth: In a medium bowl, combine the dashi broth, soy sauce, mirin, and sugar. Stir until the sugar is dissolved.
- Cook the Chicken: In a non-stick skillet, heat a small amount of oil over medium heat. Add the diced chicken, seasoning it with salt and pepper. Cook until the chicken is browned and cooked through, approximately 5–7 minutes.
- Add Broth: Pour the prepared broth mixture over the cooked chicken in the skillet. Bring it to a light simmer.
- Add Eggs: In a separate bowl, beat the eggs until they are well combined. Slowly pour the beaten eggs over the simmering chicken and broth.
- Cook the Eggs: Allow the mixture to simmer gently until the eggs are set, approximately 2–3 minutes. Do not stir; let the eggs cook until they form a soft layer over the chicken.
- Serve over Rice: Spoon cooked rice into bowls, then gently top each bowl with the chicken and egg mixture.
- Garnish: Finish with sliced green onions on top for a fresh, vibrant presentation.
- Enjoy: Serve while hot and enjoy this comforting dish.
By following these easy steps, you'll have a delicious 20-Minute Oyakodon that impresses without the stress!
- Prep Time: 5 minutes
- Cook Time: 15 minutes
Nutrition
- Serving Size: 2
- Calories: 450 kcal
- Fat: 15g
- Protein: 30g