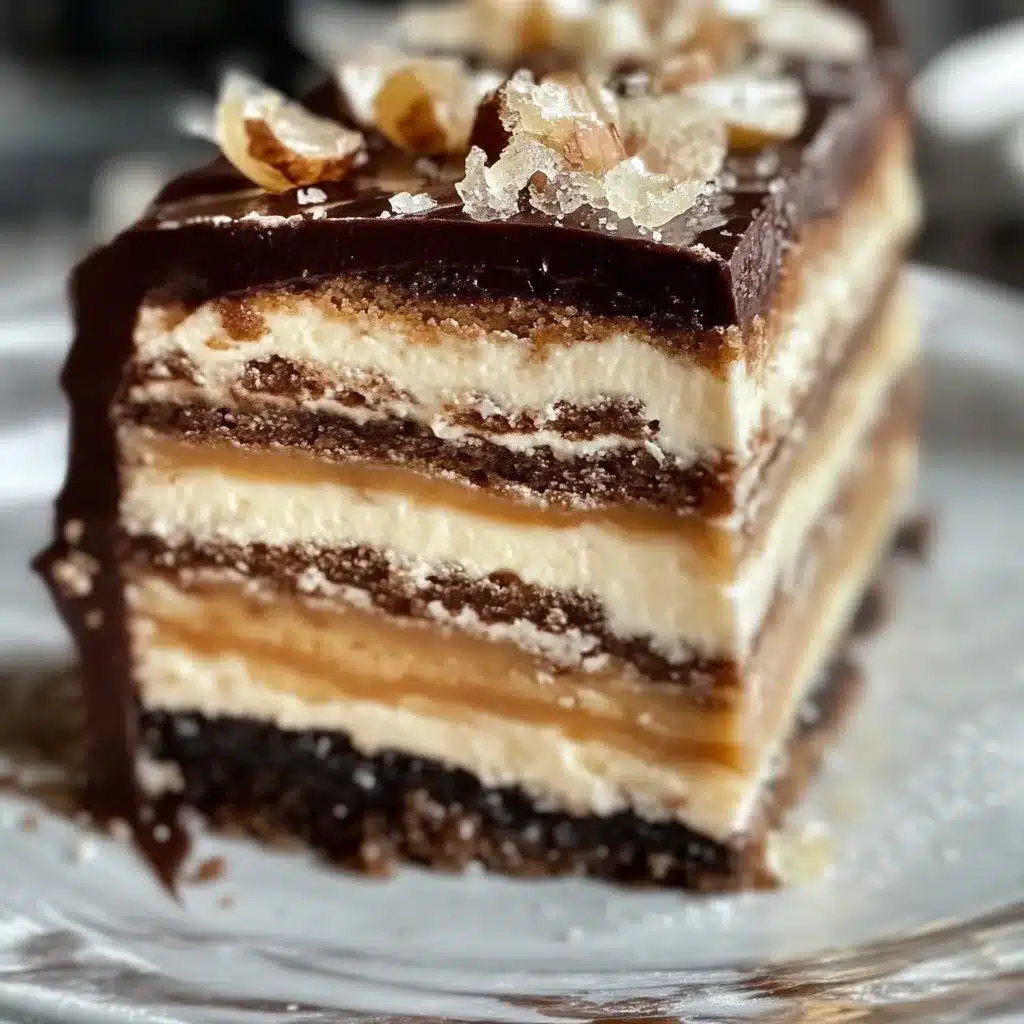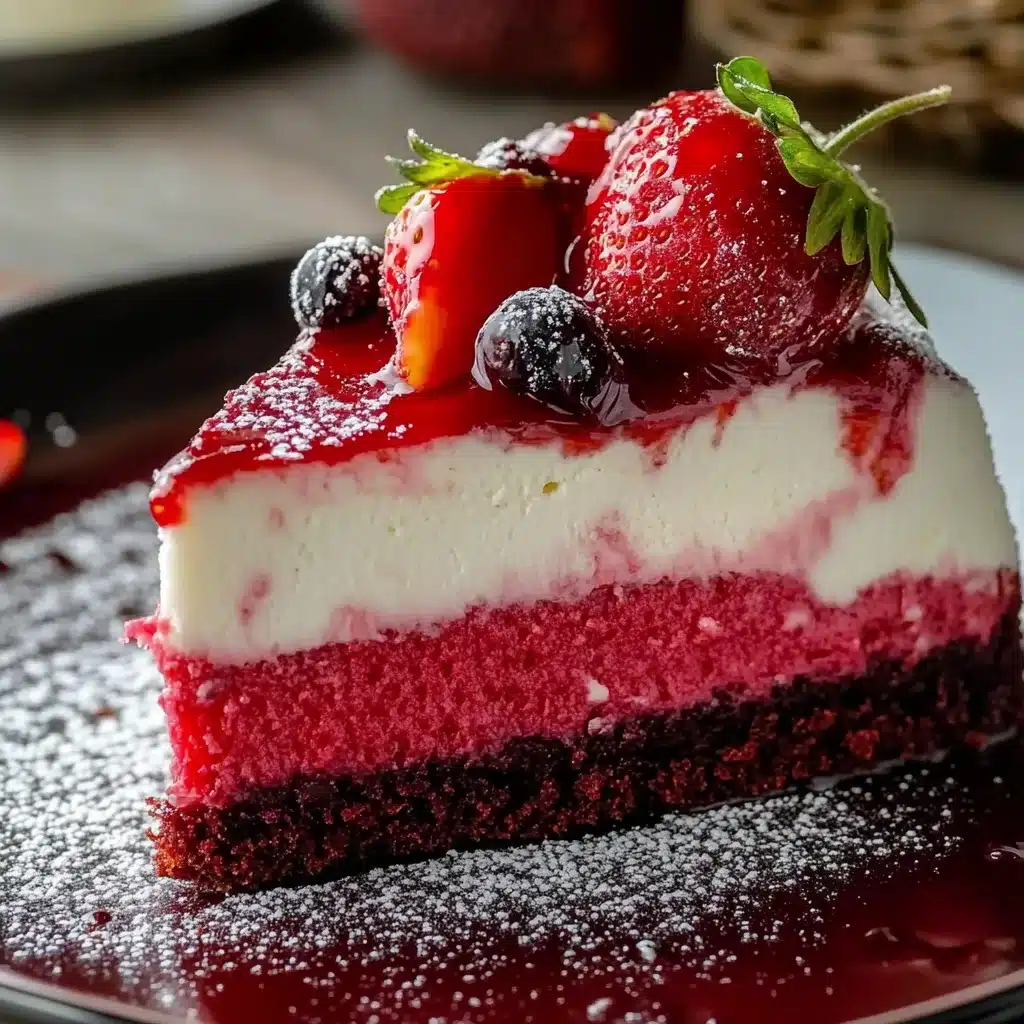

Crème Brûlée is an amazing dessert that has captured the hearts of many around the world. With its creamy custard base and a satisfying, caramelized sugar topping, it’s a treat that encapsulates luxury in every bite. Seamlessly combining texture and flavor, this classic French dessert delivers a delightful contrast between the rich custard and the crisp, sugary crust. Each spoonful offers a smooth and creamy experience that will leave you craving more.
If you have ever savored a well-made Crème Brûlée, you know the joy it brings. The delicate nature of the custard paired with the satisfying crack of caramelized sugar creates a sensory delight like no other. Whether served at a fancy dinner party or as a personal indulgence, Crème Brûlée epitomizes elegance and indulgence. This guide will take you through the essentials of making this sophisticated dessert, ensuring you understand why it has stood the test of time.
Beyond its exquisite taste and rich history, the beauty of Crème Brûlée lies in its simplicity. With a few basic ingredients, you can create a dessert that feels like a culinary masterpiece. In this article, we’ll explore the recipe, preparation tips, and insights into enjoying this decadent dish. You’ll soon discover that making your own Crème Brûlée is not just within reach; it’s also an experience to savor and delight in.
Why You’ll Love This Recipe
Crème Brûlée is a beloved dessert for numerous reasons, making it a worthy addition to any cookbook or dinner menu. Here are several factors that will make you fall in love with this incredible dessert:
1. Few Ingredients Needed – Most ingredients are likely already in your kitchen, including cream, eggs, sugar, and vanilla.
2. Impressive Presentation – The glossy custard topped with a crackling layer of caramelized sugar creates a visually stunning treat.
3. Customizable Flavors – While classic vanilla is a favorite, you can easily infuse other flavors like lavender, citrus, or chocolate.
4. Perfect for Any Occasion – Crème Brûlée is suitable for birthdays, anniversaries, or dinner parties where you want to impress guests.
5. Easy to Make at Home – It may sound sophisticated, but the steps involved are straightforward and accessible.
6. Sensory Experience – The contrast of textures between the smooth custard and crunchy topping creates a delightful eating experience.
These appealing aspects show why Crème Brûlée continues to be a favorite dessert among many. The blend of flavors and textures makes it an unforgettable choice for anyone looking to indulge.
Preparation and Cooking Time
Preparing Crème Brûlée takes about 1 hour in total, which includes preparation and baking time. Here’s how the timing breaks down:
– Preparation Time: 20 minutes
– Cooking Time: 30-40 minutes
– Cooling Time: 2 hours minimum (to achieve the best texture)
These estimates may vary depending on your baking experience and equipment, but this timeline provides a reliable framework to follow as you embark on your Crème Brûlée journey.
Ingredients
– 2 cups heavy cream
– 1 cup granulated sugar (divided)
– 5 large egg yolks
– 1 teaspoon vanilla extract
– 1/4 teaspoon salt
– Additional granulated sugar for caramelizing
Step-by-Step Instructions
Creating your own Crème Brûlée can be a delightful process when you follow these simple steps:
1. Preheat the Oven: Begin by preheating your oven to 325°F (160°C).
2. Heat the Cream: In a saucepan, heat the heavy cream over medium heat until just boiling. Stir occasionally to prevent scorching.
3. Mix the Egg Yolks and Sugar: In a mixing bowl, whisk together the egg yolks, 1 cup of granulated sugar, and salt until well combined and slightly pale.
4. Combine Cream and Egg Mixture: Gradually pour the hot cream into the egg yolk mixture while continuously whisking. This step is crucial to prevent the eggs from scrambling.
5. Add Vanilla: Stir in the vanilla extract, ensuring an even distribution of flavor.
6. Strain the Mixture: Strain the combined mixture through a fine mesh sieve into another bowl to remove any lumps.
7. Prepare Ramekins: Place six ramekins (4-6 ounces each) in a baking dish. Pour the custard mixture evenly into the ramekins.
8. Create a Water Bath: Carefully pour hot water into the baking dish until it comes halfway up the sides of the ramekins. This method ensures even cooking.
9. Bake: Place the baking dish in the preheated oven. Bake for 30-40 minutes until the edges of the custard are set but the center remains slightly jiggly.
10. Cool Down: Once baked, remove the ramekins from the water bath and allow them to cool to room temperature. Then refrigerate for at least 2 hours, preferably longer.
11. Caramelize the Sugar Topping: Before serving, sprinkle a thin layer of granulated sugar over each custard. Using a kitchen torch, caramelize the sugar until it forms a crispy top. If you don’t have a torch, you can broil them in the oven for a few minutes – just watch closely to prevent burning!
How to Serve
Serving Crème Brûlée can enhance the overall dining experience. Here are some tips to ensure it shines:
1. Elegant Presentation: Serve in the ramekins or carefully unmold onto dessert plates for a fancy touch.
2. Accompaniments: Pair with fresh fruits, such as berries or slices of citrus, to balance the richness of the cream.
3. Beverage Pairing: Consider serving with espresso, dessert wine, or a light after-dinner drink to elevate the tasting experience further.
4. Generous Portions: Serve with a generous spoon; the rich and creamy texture should be enjoyed at a leisurely pace.
5. Interactive Element: Allow diners to caramelize their own sugar topping with a torch at the table for added fun and engagement.
These serving suggestions will help emphasize the sophistication and charm of Crème Brûlée, making it a standout finale for any meal. Enjoy this amazing recipe, and delight in the joy it brings to your table!
# Additional Tips
– Use Quality Ingredients: Selecting high-quality heavy cream and fresh eggs will elevate the flavor of your Crème Brûlée.
– Don’t Overbake: Be careful not to overbake your custard. The center should be set but still have a gentle jiggle when you shake the ramekins.
– Cool Gradually: Allow your custard to cool in the ramekins before refrigerating. This helps improve the texture.
– Use a Sifter: When sprinkling sugar for the topping, use a sifter to ensure an even distribution for caramelization.
# Recipe Variation
Feel free to experiment with different flavors and styles! Here are some variations to try:
1. Chocolate Crème Brûlée: Add melted dark chocolate to the cream mixture for a rich chocolate flavor.
2. Citrus Infusion: Substitute vanilla with citrus zest, such as lemon, lime, or orange, for a refreshing twist.
3. Coffee Flavored: Infuse the cream with brewed espresso or coffee for a delightful coffee crème brûlée.
4. Herb-Infused: Try steeping fresh herbs like mint or basil in the cream for a unique and stylish flavor.
# Freezing and Storage
– Storage: Stored in an airtight container, Crème Brûlée can last up to 3 days in the refrigerator. Ensure they are well-covered to prevent contamination with other odors.
– Freezing: While it’s not ideal to freeze Crème Brûlée because it affects texture, you can freeze the unbaked custard mixture for up to 2 months. Thaw in the refrigerator and gently rewarm before baking.
# Special Equipment
To successfully prepare your Crème Brûlée, you’ll need a few essential tools:
– Ramekins: Individual custard cups for baking your crème brûlée.
– Baking Dish: A larger dish to create a water bath.
– Whisk: For mixing ingredients smoothly and thoroughly.
– Kitchen Torch: For caramelizing the sugar topping. Alternatively, a broiler can be used.
– Fine Mesh Sieve: To strain the custard mixture for a silky finish.
# Frequently Asked Questions
How do I know when the custard is done baking?
Gently shake the ramekins; the edges should be set, but the center should slightly jiggle.
Can I double the recipe?
Yes, feel free to double the ingredients. Just ensure you have enough ramekins and a large enough baking dish.
What can I substitute for heavy cream?
You can use half-and-half for a lighter version. However, the texture may be less rich.
Can I make Crème Brûlée ahead of time?
Absolutely! You can prepare your custards a day in advance. Just add the sugar and caramelize the top before serving.
Why is my caramel top too hard?
If your sugar is caramelized too long, it can become overly hard. Aim for a light golden brown for the perfect crack on top.
# Conclusion
Crème Brûlée is a timeless dessert that is sure to impress anyone at your dinner table. Its delicate layers of rich custard and a crisp sugar topping offer a flavor experience that is simply unforgettable. Whether you’re enjoying it as a personal treat or sharing it with guests, this recipe promises to be a showstopper. With the tips and variations we’ve covered, you can customize this elegant dish to suit any palate. Enjoy making and savoring your Crème Brûlée!

Crème Brûlée: An Incredible Ultimate Recipe for Everyone
- Total Time: 0 hours
Ingredients
– 2 cups heavy cream
– 1 cup granulated sugar (divided)
– 5 large egg yolks
– 1 teaspoon vanilla extract
– 1/4 teaspoon salt
– Additional granulated sugar for caramelizing
Instructions
Creating your own Crème Brûlée can be a delightful process when you follow these simple steps:
1. Preheat the Oven: Begin by preheating your oven to 325°F (160°C).
2. Heat the Cream: In a saucepan, heat the heavy cream over medium heat until just boiling. Stir occasionally to prevent scorching.
3. Mix the Egg Yolks and Sugar: In a mixing bowl, whisk together the egg yolks, 1 cup of granulated sugar, and salt until well combined and slightly pale.
4. Combine Cream and Egg Mixture: Gradually pour the hot cream into the egg yolk mixture while continuously whisking. This step is crucial to prevent the eggs from scrambling.
5. Add Vanilla: Stir in the vanilla extract, ensuring an even distribution of flavor.
6. Strain the Mixture: Strain the combined mixture through a fine mesh sieve into another bowl to remove any lumps.
7. Prepare Ramekins: Place six ramekins (4-6 ounces each) in a baking dish. Pour the custard mixture evenly into the ramekins.
8. Create a Water Bath: Carefully pour hot water into the baking dish until it comes halfway up the sides of the ramekins. This method ensures even cooking.
9. Bake: Place the baking dish in the preheated oven. Bake for 30-40 minutes until the edges of the custard are set but the center remains slightly jiggly.
10. Cool Down: Once baked, remove the ramekins from the water bath and allow them to cool to room temperature. Then refrigerate for at least 2 hours, preferably longer.
11. Caramelize the Sugar Topping: Before serving, sprinkle a thin layer of granulated sugar over each custard. Using a kitchen torch, caramelize the sugar until it forms a crispy top. If you don’t have a torch, you can broil them in the oven for a few minutes – just watch closely to prevent burning!
- Prep Time: 15 minutes
- Cook Time: 30-40 minutes
Nutrition
- Serving Size: 6 servings
- Calories: 300 kcal
- Fat: 20g
- Protein: 5g