Introduction
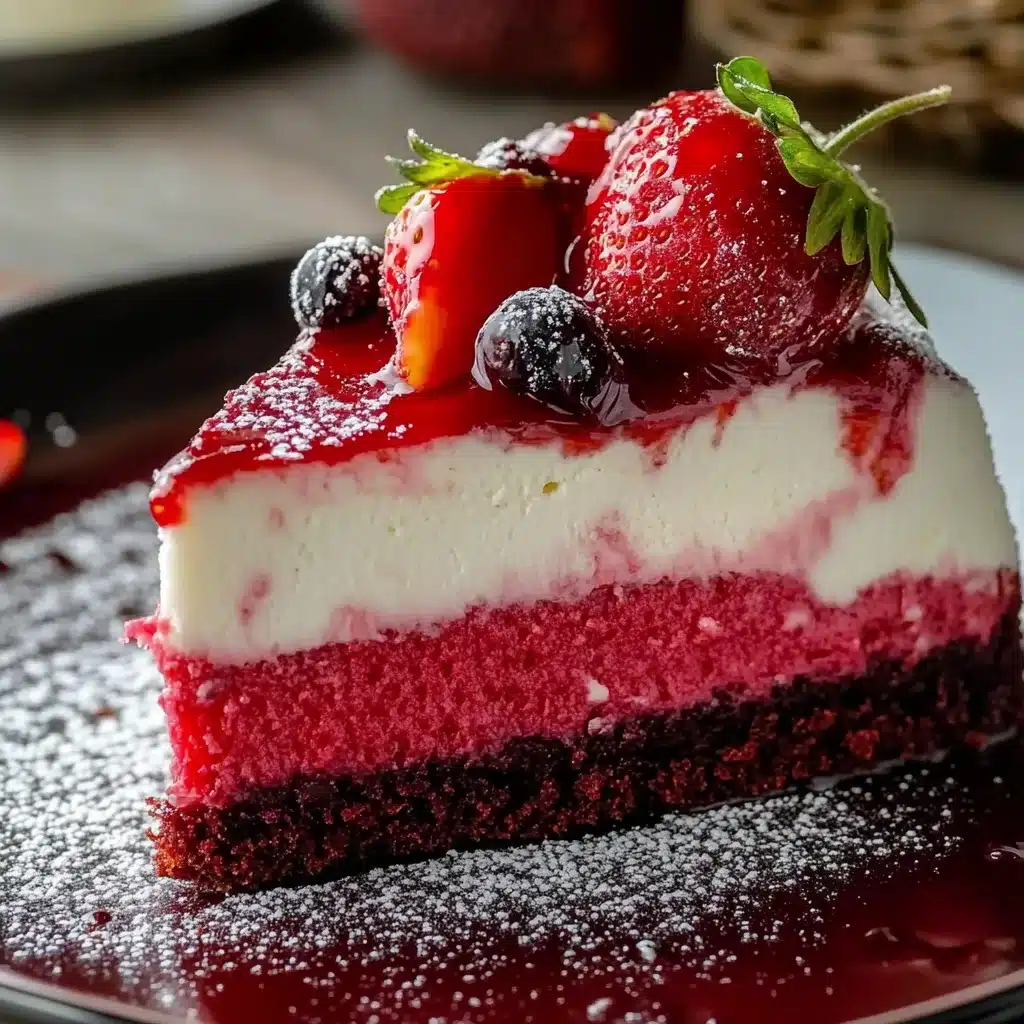
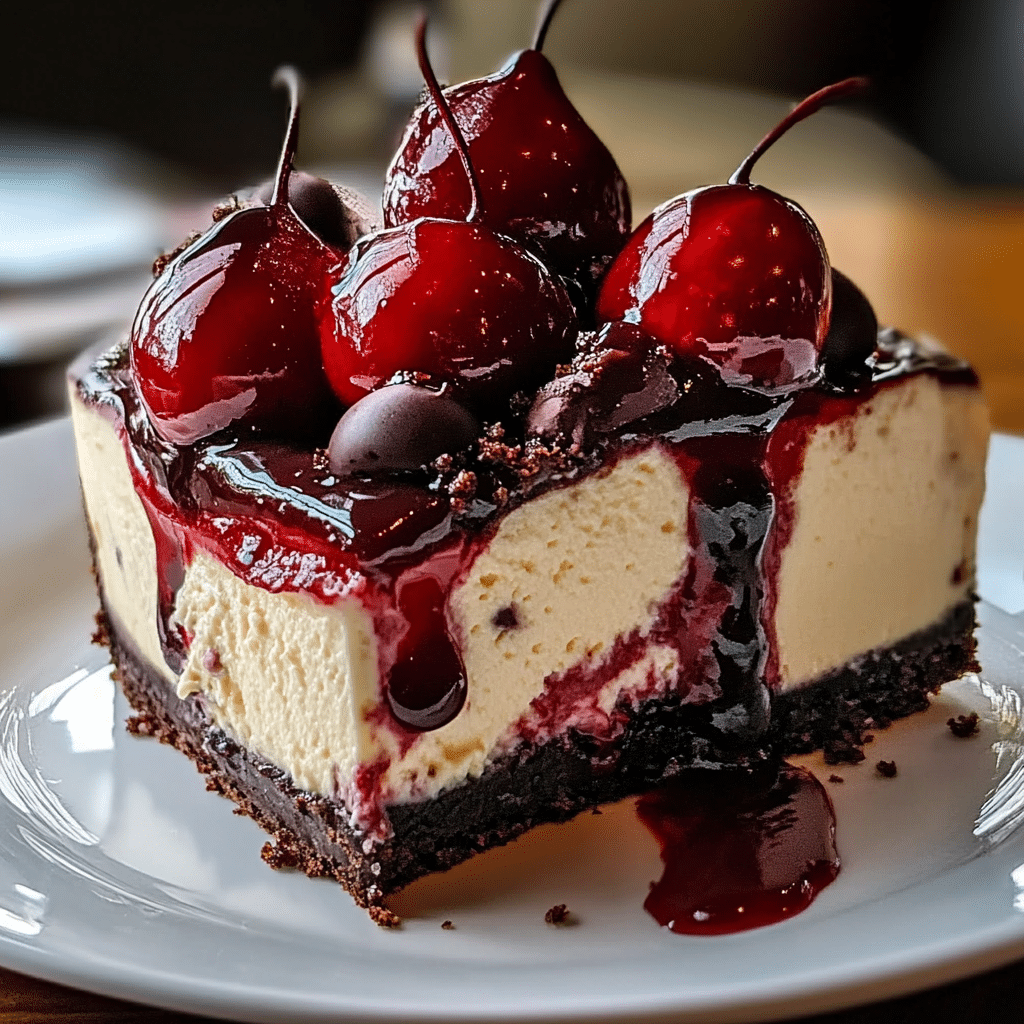
Decadent Black Forest Cheesecake is the perfect combination of velvety chocolate cheesecake, tart cherries, and airy whipped cream. Inspired by the timeless Black Forest cake, this dessert is a modern twist that will satisfy your sweet tooth while impressing your guests. With layers of indulgent flavors and a stunning presentation, this cheesecake is ideal for celebrations, holidays, or when you’re craving a luxurious dessert.
The first time I made this cheesecake was for a holiday gathering, and it quickly became the star of the dessert table. The rich chocolate flavor paired beautifully with the vibrant cherries, while the whipped cream added a light, creamy touch that balanced everything perfectly. Each slice felt like a bite of indulgence, leaving everyone asking for the recipe.
What makes this Black Forest Cheesecake special is the blend of textures and flavors. The chocolate crust provides a crisp foundation, the creamy cheesecake is infused with rich cocoa, and the cherry topping adds a fruity tang that complements the chocolate base. Topped with pillowy whipped cream and a sprinkle of chocolate shavings or fresh cherries, this dessert is as stunning as it is delicious. Whether you’re an experienced baker or trying something new, this recipe is surprisingly approachable and guarantees a show-stopping result!
Perfect for:
- Special occasions and celebrations
- Chocolate and cherry enthusiasts
- Elegant dinner parties
- Romantic desserts for two
Why You’ll Love This Decadent Black Forest Cheesecake
- Lush Texture: Rich, creamy, and smooth cheesecake paired with a tender chocolate crust.
- Balanced Flavors: Sweet chocolate and tangy cherries come together for a perfectly balanced bite.
- Show-Stopping Dessert: Beautifully layered with whipped cream, cherries, and chocolate shavings for a professional look.
- Make-Ahead Friendly: Perfect for prepping in advance for stress-free entertaining.
Preparation and Cooking Time
- Total Time: 7 hours (includes cooling and chilling)
- Prep Time: 30 minutes
- Bake Time: 1 hour 15 minutes
- Chill Time: 4-5 hours
- Servings: 12 slices
Ingredients
Crust:
- 2 cups chocolate cookie crumbs
- 6 tablespoons unsalted butter, melted
Filling:
- 24 ounces cream cheese, softened
- 1 cup granulated sugar
- 1/2 cup sour cream
- 3 large eggs
- 8 ounces semi-sweet chocolate, melted and cooled
- 1 teaspoon vanilla extract
Cherry Topping:
- 2 cups canned or fresh cherries (pitted)
- 1/2 cup cherry juice or water
- 1/4 cup granulated sugar
- 1 tablespoon cornstarch
Garnish:
- Whipped cream
- Fresh cherries
- Chocolate shavings
Step-by-Step Instructions
Prepare the Crust:
- Preheat Oven: Preheat your oven to 325°F (163°C). Grease a 9-inch springform pan and wrap the outside with foil to prevent leaks.
- Make the Crust: Combine chocolate cookie crumbs and melted butter. Press the mixture evenly into the bottom of the prepared pan. Bake for 10 minutes, then let cool.
Make the Filling:
- Cream the Base: In a large mixing bowl, beat the softened cream cheese and sugar until smooth and creamy.
- Add Ingredients: Mix in sour cream and vanilla extract until fully incorporated. Add eggs one at a time, mixing gently after each addition.
- Fold in Chocolate: Stir in melted, cooled chocolate until evenly distributed. Pour the filling over the cooled crust.
Bake and Cool:
- Bake the Cheesecake: Place the springform pan in a large roasting pan. Fill the roasting pan with hot water to create a water bath, about halfway up the sides of the springform pan. Bake for 1 hour 15 minutes, or until the edges are set and the center is slightly jiggly.
- Cool Gradually: Turn off the oven and leave the cheesecake inside with the door slightly ajar for 1 hour. Then, transfer it to the refrigerator to chill for at least 4-5 hours or overnight.
Prepare the Cherry Topping:
- Cook the Topping: In a saucepan, combine cherries, cherry juice (or water), sugar, and cornstarch. Cook over medium heat, stirring frequently, until the mixture thickens and becomes glossy. Let it cool completely.
Assemble and Garnish:
- Top the Cheesecake: Spread the cooled cherry topping evenly over the cheesecake.
- Decorate: Pipe whipped cream around the edges, garnish with fresh cherries, and sprinkle chocolate shavings for an elegant finish.

How to Serve Decadent Black Forest Cheesecake
- Serve chilled with a drizzle of extra cherry sauce for added flair.
- Pair with a cup of strong coffee, espresso, or a dessert wine to complement the rich flavors.
Variations for Decadent Black Forest Cheesecake
- Chocolate Ganache Layer: Add a rich chocolate ganache layer on top of the cheesecake for extra depth and smoothness.
- Cherry Liqueur Infusion: Use a splash of cherry liqueur (such as Kirsch) in the cherry topping or even within the cheesecake filling for an adult twist.
- Oreo Crust: Swap the traditional graham cracker crust for a crushed Oreo cookie crust to enhance the chocolate flavor.
- Dark Chocolate Shavings: Garnish the cheesecake with dark chocolate shavings or curls for a touch of elegance and extra chocolate richness.
- Maraschino Cherry Drizzle: Drizzle maraschino cherry syrup over the top for a sweeter, fruitier alternative to fresh cherries.
- White Chocolate Cheesecake: Mix white chocolate into the cheesecake filling for a creamier texture and a slight variation in flavor.
- Almond Crust: Try an almond crust for a nutty twist that pairs well with the rich cheesecake and cherries.
- Cocoa Powder Infusion: Add cocoa powder to the cheesecake filling to intensify the chocolate flavor without adding extra bulk.
- Whipped Cream Topping: Top the cheesecake with freshly whipped cream and sprinkle with cocoa powder for a lighter, creamier finish.
- Baked Cherry Compote: Instead of a raw cherry topping, bake the cherries into a compote to intensify their flavor and add a warm element to the cheesecake.
Storage Tips for Decadent Black Forest Cheesecake
- Refrigerate: Store leftover cheesecake in an airtight container in the fridge for up to 5 days.
- Freeze: Freeze slices (without cherry topping) for up to 2 months. Wrap each slice tightly in plastic wrap and foil before freezing.
Special Equipment for Decadent Black Forest Cheesecake
- Springform Pan – Ideal for cheesecakes, as it allows easy removal without damaging the cake.
- Electric Mixer – To achieve smooth and fluffy cheesecake filling by thoroughly blending the cream cheese, sugar, and other ingredients.
- Stand Mixer or Hand Mixer – These are great for evenly mixing the batter without the hassle of manual mixing.Food Processor – Used to crush graham crackers or other cookies for the crust.
- Offset Spatula – Perfect for smoothing the top of the cheesecake and creating a neat finish.
- Cake Decorating Turntable – Helps rotate the cheesecake as you frost or decorate it for a polished look.
- Measuring Cups and Spoons – Accurate measurements are key for a perfectly balanced recipe.
- Heatproof Mixing Bowls – For melting chocolate or mixing other ingredients at different temperatures.
- Chill-safe Cake Box or Storage Container – To keep the cheesecake chilled during the setting process without risking damage.
- Sharp Knife or Cake Slicer – For cleanly slicing through the cheesecake once it’s set, ensuring each piece has a neat edge.
Frequently Asked Questions for Decadent Black Forest Cheesecake
- Refrigerate Immediately: Always store your Black Forest Cheesecake in the fridge to keep it fresh and safe to eat. The cream cheese filling requires refrigeration.
- Cover Properly: Use plastic wrap or foil to cover the cheesecake to prevent it from absorbing any odors in the fridge.
- Use an Airtight Container: If possible, store the cheesecake in an airtight container to maintain its moisture and prevent drying out.
- Avoid Freezing Toppings: If the cheesecake has a cherry topping or whipped cream, it’s best to store the cheesecake separately from these items to preserve their texture. Add the toppings just before serving.
- Store in Portions: If you plan to store individual slices, wrap each slice in plastic wrap before placing it in a storage container to maintain its shape and texture.
- Chill Before Cutting: Ensure the cheesecake is fully chilled and set before cutting it into slices. This will prevent it from becoming too messy when you serve it.
- Consume Within 5 Days: For the best quality, eat the cheesecake within 5 days of preparation. Its freshness and taste may diminish after this period.
- Keep Out of Direct Airflow: Avoid placing your cheesecake in areas with direct airflow (like the front of the fridge) to prevent it from drying out.
- Use Parchment Paper: If you’re storing a whole cheesecake, line the bottom of the storage container with parchment paper. This will make it easier to remove the cheesecake without damaging it.
- Refrigerate the Base Separately: If your cheesecake has a crust, store the crust and filling separately if you need to store the cheesecake for more than a couple of days. This will prevent the crust from getting soggy.

Decadent Black Forest Cheesecake
- Total Time: 7 hours
- Yield: 12 servings 1x
Description
Decadent Black Forest Cheesecake is the perfect combination of velvety chocolate cheesecake, tart cherries, and airy whipped cream. Inspired by the timeless Black Forest cake, this dessert is a modern twist that will satisfy your sweet tooth while impressing your guests. With layers of indulgent flavors and a stunning presentation, this cheesecake is ideal for celebrations, holidays, or when you’re craving a luxurious dessert.
Ingredients
For the Crust:
- 2 cups chocolate cookie crumbs
- 6 tablespoons unsalted butter, melted
For the Filling:
- 24 ounces cream cheese, softened
- 1 cup granulated sugar
- 1/2 cup sour cream
- 3 large eggs
- 8 ounces semi-sweet chocolate, melted and cooled
- 1 teaspoon vanilla extract
For the Cherry Topping:
- 2 cups canned or fresh cherries (pitted)
- 1/2 cup cherry juice or water
- 1/4 cup granulated sugar
- 1 tablespoon cornstarch
For Garnish:
- Whipped cream
- Fresh cherries
- Chocolate shavings
Instructions
Prepare the Crust:
- Preheat Oven: Preheat your oven to 325°F (163°C). Grease a 9-inch springform pan and wrap the outside with foil to prevent leaks.
- Make the Crust: Combine chocolate cookie crumbs and melted butter. Press the mixture evenly into the bottom of the prepared pan. Bake for 10 minutes, then let cool.
Make the Filling:
- Cream the Base: In a large mixing bowl, beat the softened cream cheese and sugar until smooth and creamy.
- Add Ingredients: Mix in sour cream and vanilla extract until fully incorporated. Add eggs one at a time, mixing gently after each addition.
- Fold in Chocolate: Stir in melted, cooled chocolate until evenly distributed. Pour the filling over the cooled crust.
Bake and Cool:
- Bake the Cheesecake: Place the springform pan in a large roasting pan. Fill the roasting pan with hot water to create a water bath, about halfway up the sides of the springform pan. Bake for 1 hour 15 minutes, or until the edges are set and the center is slightly jiggly.
- Cool Gradually: Turn off the oven and leave the cheesecake inside with the door slightly ajar for 1 hour. Then, transfer it to the refrigerator to chill for at least 4-5 hours or overnight.
Prepare the Cherry Topping:
- Cook the Topping: In a saucepan, combine cherries, cherry juice (or water), sugar, and cornstarch. Cook over medium heat, stirring frequently, until the mixture thickens and becomes glossy. Let it cool completely.
Assemble and Garnish:
- Top the Cheesecake: Spread the cooled cherry topping evenly over the cheesecake.
- Decorate: Pipe whipped cream around the edges, garnish with fresh cherries, and sprinkle chocolate shavings for an elegant finish.
- Prep Time: 30 minutes
- Chilling Time: 4-5 hours
Conclusion
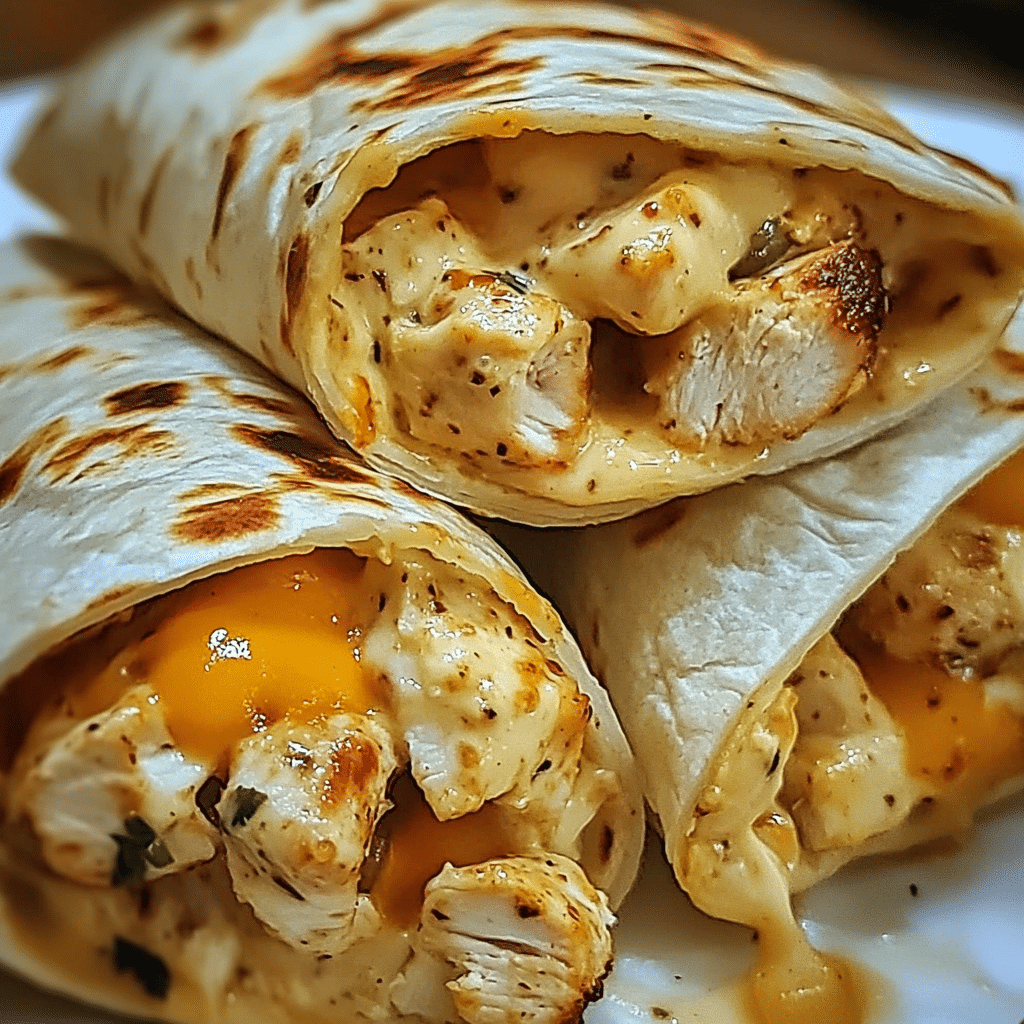
The Blooming Quesadilla Ring is a delightful and shareable twist on classic quesadillas. With its crispy, golden tortilla petals and cheesy, flavor-packed filling, this pull-apart dish is a guaranteed crowd-pleaser. Its unique presentation makes it perfect for parties, game days, or any gathering where you want to impress your guests with a fun and tasty appetizer.
This recipe is as fun to prepare as it is to eat, making it a fantastic addition to your party spread or even a creative snack for family movie night. Whether you’re sharing it with friends or enjoying it yourself, every cheesy, pull-apart bite is sure to bring a smile.
I’d love to see how your Blooming Quesadilla Ring turns out! Snap a photo, share it on social media, and don’t forget to tag me—I can’t wait to see your delicious creations. Happy cooking!