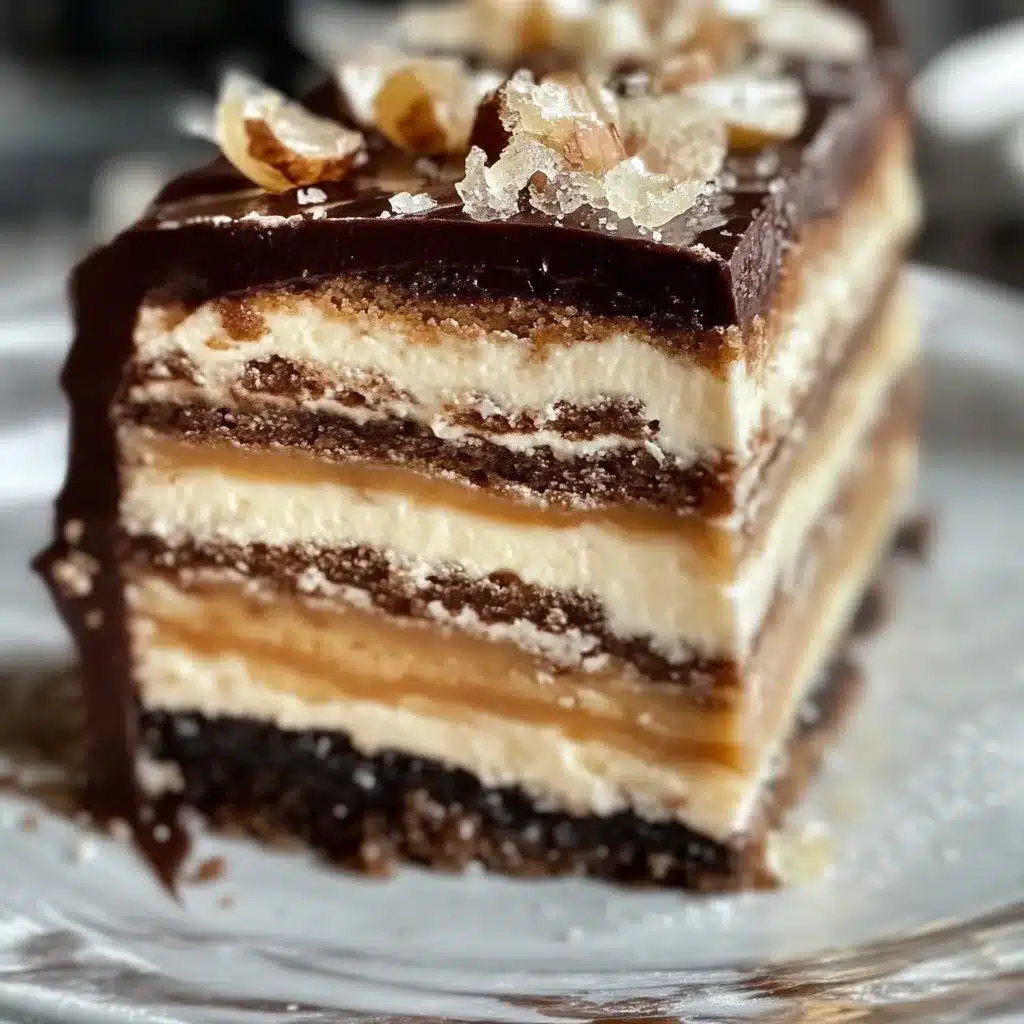

Peanut Butter Chocolate Layer Cake is an amazing dessert that perfectly merges two beloved flavors: chocolate and peanut butter. This cake is part dream and part indulgence, designed to transport you to a world of rich sweetness with every bite. If you're a fan of Reese's Cups, you’ll fall head over heels for this indulgent dessert. The layers are not only visually stunning but also packed with enough flavor to captivate your taste buds and warm your heart.
Imagine a moist chocolate cake layered generously with creamy peanut butter frosting, all adorned with the unmistakable taste of Reese's Cups. This decadent treat is perfect for celebrations, special occasions, or just a well-deserved indulgence after a long week. You will find that each delicious slice showcases the genius of combining peanut butter and chocolate, reminding us all why these two flavors are made for each other.
The Peanut Butter Chocolate Layer Cake is not just a thing of beauty; it’s also straightforward to prepare, making it a perfect choice for both novice bakers and seasoned pros. In this guide, you’ll discover what makes this recipe incredible, the preparation involved, and how to perfectly serve this delightful cake to impress your family and friends. Let’s unpack this fantastic dessert that promises to be the star of your next gathering!
Why You’ll Love This Recipe
There are countless reasons why the Peanut Butter Chocolate Layer Cake is simply irresistible. Here are just a few:
- Decadent Flavor Combination: The combination of rich chocolate cake and creamy peanut butter frosting creates a phenomenal taste experience.
- Easy to Make: Despite its impressive look, this cake isn’t complicated to bake. Following the instructions will yield delicious results.
- Perfect for Any Occasion: This cake is an excellent choice for birthdays, potlucks, or any gathering where dessert is the main event.
- Inspired by Classics: The inclusion of Reese's Cups not only elevates the flavor but also adds a delightful crunch.
- Crowd-Pleaser: It’s hard to find someone who doesn’t love chocolate and peanut butter, making this cake a sure hit with guests.
- Impressive Presentation: Layered cakes are naturally beautiful, and your effort will show. The Reese’s Cups on top add a fun and whimsical touch.
With so many benefits packed into one cake, it’s no wonder that people rave about this Peanut Butter Chocolate Layer Cake! You’ll be eager to serve it and share the joyous experience with everyone you know.
Preparation and Cooking Time
Successfully creating the Peanut Butter Chocolate Layer Cake will take approximately 2 hours from start to finish. Here’s a handy breakdown of the time involved:
- Preparation Time: 30 minutes
- Baking Time: 30-35 minutes
- Cooling Time: 30 minutes
- Frosting and Decor Time: 30 minutes
These times might vary based on your kitchen experience and equipment used, but this outline gives you a good estimate to work with.
Ingredients
- For the Cake:
- 2 cups all-purpose flour
- 2 cups granulated sugar
- ¾ cup unsweetened cocoa powder
- 2 tsp baking powder
- 1½ tsp baking soda
- 1 tsp salt
- 2 large eggs
- 1 cup whole milk
- ½ cup vegetable oil
- 2 tsp vanilla extract
- 1 cup boiling water
- For the Peanut Butter Frosting:
- 1 cup unsalted butter, softened
- 2 cups creamy peanut butter
- 4 cups powdered sugar
- ⅓ cup heavy cream
- 2 tsp vanilla extract
- For Decoration:
- 8-10 Reese's Cups, chopped or whole
- Chocolate shavings (optional)
Step-by-Step Instructions
Creating the Peanut Butter Chocolate Layer Cake involves several straightforward steps:
- Preheat Oven: Preheat your oven to 350°F (175°C). Grease and flour two 9-inch round cake pans.
- Mix Dry Ingredients: In a large mixing bowl, sift together the flour, sugar, cocoa powder, baking powder, baking soda, and salt.
- Combine Wet Ingredients: In a separate bowl, whisk together the eggs, milk, oil, and vanilla extract until well combined.
- Combine Mixtures: Gradually add the wet ingredients to the dry ingredients, mixing until smooth and lump-free.
- Add Boiling Water: Carefully stir in the boiling water (the batter will be thin, which is expected).
- Bake: Pour the batter evenly into the prepared cake pans. Bake in the preheated oven for 30-35 minutes, or until a toothpick inserted in the center comes out clean.
- Cool Cakes: Remove cakes from the oven and let them cool in the pans for about 10 minutes. Then transfer the cakes to wire racks to cool completely.
- Prepare Frosting: In a large mixing bowl, beat the softened butter and peanut butter until creamy. Gradually add powdered sugar and heavy cream, mixing until light and fluffy. Stir in vanilla extract.
- Assemble the Cake: Once cakes are completely cool, place one layer on a serving plate. Spread a generous amount of peanut butter frosting on top. Place the second cake layer on top and frost the top and sides of the cake.
- Add Decorations: Decorate the top of the cake with chopped or whole Reese’s Cups. Optional: Add chocolate shavings for extra flair.
How to Serve
To serve the Peanut Butter Chocolate Layer Cake effectively, consider the following tips:
- Presentation Matters: Use a decorative cake stand to showcase the cake. A simple yet elegant display enhances the cake's appeal.
- Slice Generously: Cut generous slices, remembering that this cake is rich and satisfying. Smaller portions might encourage guests to go back for seconds!
- Beverage Pairing: Serve with milk, coffee, or a dessert wine to complement the flavors of peanut butter and chocolate.
- Accompaniments: Consider serving it with a scoop of vanilla ice cream or a drizzle of chocolate sauce to elevate the dessert experience.
- Leftovers: Store any leftover cake in an airtight container in the refrigerator, where it should last for several days. Before serving, allow it to come back to room temperature for the best experience.
Following these serving tips will ensure that your Peanut Butter Chocolate Layer Cake becomes a memorable highlight for anyone who enjoys a delicious dessert! Enjoy every bite!
Additional Tips
- Use Quality Ingredients: The key to an unforgettable Peanut Butter Chocolate Layer Cake lies in using high-quality cocoa powder and creamy peanut butter. This ensures the flavors are as rich and delightful as possible.
- Achieve the Right Cake Texture: Make sure all ingredients are at room temperature before mixing. This will help create a smoother batter and result in a lighter cake.
- Let the Cake Cool Completely: Always allow the cake layers to cool entirely before frosting. This prevents the frosting from melting and sliding off.
- Experiment with Frosting Thickness: If you prefer a thicker frosting layer, feel free to add an extra cup of powdered sugar when making the peanut butter frosting.
- Garnish Creatively: Besides Reese’s Cups, consider drizzling melted chocolate over the top of the cake or adding crushed peanuts for added texture and flavor.
Recipe Variation
Get adventurous in the kitchen! Here are a few variations to consider for your Peanut Butter Chocolate Layer Cake:
- Nut Allergies: If you’re making this cake for someone with nut allergies, use sun butter instead of peanut butter to keep the creamy texture without any nuts.
- Chocolate Overload: Add chocolate chips to the cake batter for extra gooeyness. Alternatively, use dark chocolate cocoa powder for a richer flavor.
- Alternative Frosting Options: Substitute the peanut butter frosting with a chocolate ganache for a different kind of indulgence.
- Add a Surprise Filling: Create a layer of ganache or fruit preserves between the cake layers for a burst of unexpected flavor.
- Vegan Version: Use a plant-based milk, replace eggs with flax eggs, and use vegan butter and a non-dairy chocolate option to make this cake vegan-friendly.
Freezing and Storage
Proper storage will maintain the quality of your Peanut Butter Chocolate Layer Cake.
- Storage: Keep the cake in an airtight container in the refrigerator, where it will stay fresh for about 4-5 days.
- Freezing: To extend its shelf life, you can freeze both whole cakes and individual slices. Wrap them tightly in plastic wrap or foil, and store in a freezer-safe bag. The cake will last for up to 3 months in the freezer.
- Thawing: When you’re ready to enjoy the frozen cake, transfer it to the refrigerator to thaw overnight. For quicker defrosting, you can leave it at room temperature for a couple of hours.
Special Equipment
While this recipe is relatively straightforward, having the proper tools can make the process easier and more efficient:
- Mixing Bowls: Use large mixing bowls for combining ingredients without spillage.
- Electric Mixer: An electric mixer is handy for achieving that light and fluffy peanut butter frosting.
- Cake Pans: You’ll need two 9-inch round cake pans to bake your cake layers evenly.
- Parchment Paper: Line your cake pans with parchment paper for easy removal after baking.
- Offset Spatula: An offset spatula is perfect for spreading frosting evenly across the cake layers.
Frequently Asked Questions
How do I decrease the sweetness of the cake?
You can decrease the sweetness by using dark chocolate in both the cake and frosting recipe. You could also reduce the amount of sugar in the frosting slightly.
Can I make this cake gluten-free?
Yes, substitute all-purpose flour for a gluten-free flour blend. Make sure to use a blend that is meant for baking to replicate the cake’s texture effectively.
How should I cut the cake?
Use a sharp knife dipped in hot water to cut through the cake easily. Wipe the blade after each cut for clean edges.
Can I use crunchy peanut butter instead of creamy?
Absolutely! Using crunchy peanut butter will add texture to your frosting and make the cake even more fascinating.
Is it necessary to refrigerate the cake?
While it’s best to store it in the fridge due to the peanut butter frosting, you can keep it at room temperature in a cool, dry place for a day or two.
Conclusion
The Peanut Butter Chocolate Layer Cake is a heavenly dessert that combines classic flavors with a modern twist. This cake not only captivates with its visual appeal, but it also provides an exquisite taste experience that will leave everyone longing for more. Whether you’re making it for a special occasion or just to indulge yourself, each slice reflects the ultimate marriage of chocolate and peanut butter—where decadence meets comfort. Share it with loved ones or savor it alone; either way, this cake is nothing short of a masterpiece.

Peanut Butter Chocolate Layer Cake: An Ultimate Amazing Recipe with Reese's Cups
- Total Time: 0 hours
Ingredients
- For the Cake:
- 2 cups all-purpose flour
- 2 cups granulated sugar
- ¾ cup unsweetened cocoa powder
- 2 tsp baking powder
- 1½ tsp baking soda
- 1 tsp salt
- 2 large eggs
- 1 cup whole milk
- ½ cup vegetable oil
- 2 tsp vanilla extract
- 1 cup boiling water
- For the Peanut Butter Frosting:
- 1 cup unsalted butter, softened
- 2 cups creamy peanut butter
- 4 cups powdered sugar
- ⅓ cup heavy cream
- 2 tsp vanilla extract
- For Decoration:
- 8–10 Reese's Cups, chopped or whole
- Chocolate shavings (optional)
Instructions
Creating the Peanut Butter Chocolate Layer Cake involves several straightforward steps:
- Preheat Oven: Preheat your oven to 350°F (175°C). Grease and flour two 9-inch round cake pans.
- Mix Dry Ingredients: In a large mixing bowl, sift together the flour, sugar, cocoa powder, baking powder, baking soda, and salt.
- Combine Wet Ingredients: In a separate bowl, whisk together the eggs, milk, oil, and vanilla extract until well combined.
- Combine Mixtures: Gradually add the wet ingredients to the dry ingredients, mixing until smooth and lump-free.
- Add Boiling Water: Carefully stir in the boiling water (the batter will be thin, which is expected).
- Bake: Pour the batter evenly into the prepared cake pans. Bake in the preheated oven for 30-35 minutes, or until a toothpick inserted in the center comes out clean.
- Cool Cakes: Remove cakes from the oven and let them cool in the pans for about 10 minutes. Then transfer the cakes to wire racks to cool completely.
- Prepare Frosting: In a large mixing bowl, beat the softened butter and peanut butter until creamy. Gradually add powdered sugar and heavy cream, mixing until light and fluffy. Stir in vanilla extract.
- Assemble the Cake: Once cakes are completely cool, place one layer on a serving plate. Spread a generous amount of peanut butter frosting on top. Place the second cake layer on top and frost the top and sides of the cake.
- Add Decorations: Decorate the top of the cake with chopped or whole Reese’s Cups. Optional: Add chocolate shavings for extra flair.
- Prep Time: 15 minutes
- Cook Time: 30-35 minutes
Nutrition
- Serving Size: 12
- Calories: 450 kcal
- Fat: 20g
- Protein: 8g