Introduction
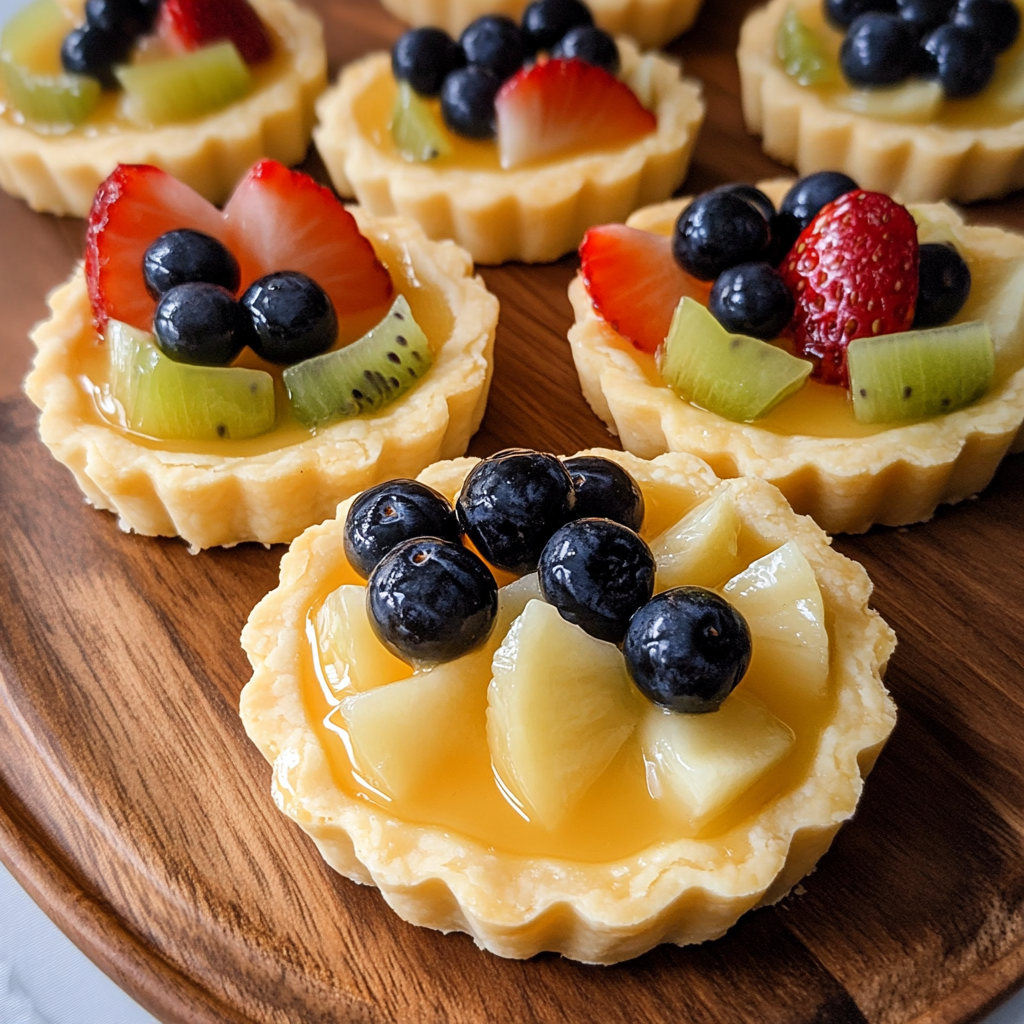
Mini Fruit Tarts are the perfect bite-sized dessert that combines buttery, flaky crusts with creamy fillings and a colorful array of fresh fruit. These delightful tarts are not only beautiful to look at but also offer a perfect balance of sweetness and tartness, thanks to the fresh fruit and the rich pastry cream.
I first made these for a summer gathering, and they were an instant hit! The bright, fresh fruit adds a pop of color, and the creamy filling contrasts perfectly with the crisp pastry. What I love about these tarts is how versatile they are—you can use any seasonal fruit you like, from berries to kiwi to citrus. The smooth, velvety pastry cream ties everything together, making each bite a delicious harmony of flavors.
What’s great about Mini Fruit Tarts is that they are surprisingly easy to make. The crust comes together quickly, and once you have the filling prepared, you just assemble the tarts and let them chill. They’re ideal for parties or when you’re looking to make a special treat. Whether you’re serving them as a light dessert after dinner or sharing them at a get-together, these mini fruit tarts are sure to impress!
Perfect for:
- Special occasions
- Holiday gatherings
- Afternoon tea
- Potlucks and picnics
- Fruit lovers
Why You’ll Love This Mini Fruit Tarts
Here’s why Mini Fruit Tarts will become a favorite:
- Flaky, Buttery Crust: The shortcrust pastry is perfectly crisp and buttery, creating a beautiful base for the creamy filling and fresh fruit.
- Smooth and Creamy Filling: The velvety pastry cream gives the tarts a rich texture that pairs beautifully with the freshness of the fruit.
- Colorful and Elegant: The vibrant fruit topping makes these tarts an eye-catching and impressive dessert for any occasion.
- Customizable: You can use any combination of fruits you like, making these tarts versatile to suit your preferences or seasonal availability.
- Perfectly Sized: These mini tarts are easy to serve, and their bite-sized nature makes them ideal for parties or gatherings.
Preparation and Cooking Time
- Total Time: 2 hours (includes chilling time)
- Preparation Time: 40 minutes
- Cooking Time: 20-25 minutes (for tart shells)
- Chilling Time: 1 hour
- Servings: 12 mini tarts
- Calories per serving: Approximately 150-170 calories
- Key Nutrients: Protein: 2g, Carbs: 22g, Fat: 8g
Ingredients
Gather these ingredients to make your Mini Fruit Tarts:
For the Crust:
- 1 ¼ cups all-purpose flour
- 2 tablespoons granulated sugar
- ½ teaspoon salt
- ½ cup unsalted butter, cold and cut into small cubes
- 1 egg yolk
- 2-3 tablespoons cold water
Pastry Cream:
- 1 cup whole milk
- ½ cup heavy cream
- 2 large egg yolks
- ¼ cup granulated sugar
- 1 tablespoon cornstarch
- 1 teaspoon vanilla extract
- 2 tablespoons unsalted butter
Fruit Topping:
- 1 cup mixed fresh fruit (such as strawberries, blueberries, kiwi, raspberries, or grapes)
- 2 tablespoons apricot jam (or any fruit preserves) for glazing (optional)
Ingredient Highlights
- Shortcrust Pastry: The buttery crust is essential for providing a sturdy yet delicate base for the tarts.
- Pastry Cream: The creamy filling made with milk, egg yolks, and sugar is rich and smooth, balancing out the fruit’s tartness.
- Fresh Fruit: A selection of colorful, fresh fruit adds both flavor and a vibrant look to the tarts.
- Apricot Jam: A light glaze of apricot jam enhances the fruit’s shine and adds a touch of sweetness.
Step-by-Step Instructions
Here’s how to make Mini Fruit Tarts:
Prepare the Crust:
- Make the Dough: In a food processor, combine the flour, sugar, and salt. Add the cold butter and pulse until the mixture resembles coarse crumbs. Add the egg yolk and pulse again. Gradually add cold water, 1 tablespoon at a time, until the dough starts to come together.
- Chill the Dough: Turn the dough out onto a piece of plastic wrap, shape it into a disk, and wrap it up. Chill in the fridge for at least 30 minutes to firm up.
- Roll Out the Dough: Preheat your oven to 375°F (190°C). Roll out the chilled dough on a lightly floured surface to about ⅛ inch thick. Use a round cutter to cut out circles of dough that will fit into your tart pans.
- Fit Dough into Tart Pans: Gently press the dough circles into mini tart pans, making sure the dough lines the bottom and sides. Use a fork to prick the bottom of each crust to prevent air bubbles while baking.
- Bake the Crusts: Line the tart shells with parchment paper and fill with pie weights or dried beans. Bake for 12-15 minutes, until the edges are golden. Remove the parchment paper and weights, and bake for an additional 5-7 minutes until the bottoms are lightly golden. Let the crusts cool completely.
Prepare the Pastry Cream:
- Heat the Milk and Cream: In a medium saucepan, heat the milk and cream over medium heat until just simmering. Remove from heat.
- Whisk the Egg Yolks: In a bowl, whisk together the egg yolks, sugar, and cornstarch until smooth.
- Temper the Egg Mixture: Gradually pour the hot milk mixture into the egg mixture, whisking constantly to prevent curdling.
- Cook the Custard: Pour the combined mixture back into the saucepan. Cook over medium heat, whisking constantly, until the mixture thickens and comes to a gentle boil. Remove from heat.
- Finish the Pastry Cream: Stir in the vanilla extract and butter until smooth. Let the pastry cream cool to room temperature, then transfer to the fridge to chill for at least 30 minutes.
Assemble the Mini Fruit Tarts:
- Fill the Tart Shells: Once the pastry cream is chilled, spoon or pipe a generous amount into each cooled tart shell, filling it to just below the top of the crust.
- Arrange the Fruit: Arrange a variety of fresh fruit on top of the pastry cream, either in a decorative pattern or as a more casual mix.
- Glaze the Fruit: If desired, melt the apricot jam and brush it over the fruit for a shiny finish and added sweetness.

How to Serve Mini Fruit Tarts
Mini Fruit Tarts are perfect for various occasions:
- As a Dessert Platter: Serve these tarts on a platter as part of a larger dessert spread for gatherings, celebrations, or dinner parties.
- With Tea or Coffee: These elegant tarts pair beautifully with afternoon tea or coffee, adding a touch of class to your snack time.
- As a Light Dessert: They make a wonderful light dessert for a dinner party or special occasion where you want a sweet but not overly heavy treat.
- Gift-Giving: Pack the tarts in small gift boxes or jars for a charming homemade gift to share with friends and family.
Additional Tips for Mini Fruit Tarts
Here are some tips to ensure your Mini Fruit Tarts are perfect every time:
- Chill the Dough: Make sure to chill the dough before rolling it out to ensure the crust holds its shape while baking.
- Use Cold Butter: Cold butter is key to achieving a flaky, tender crust. It’s essential for creating the right texture in your pastry.
- Don’t Overfill the Tarts: Fill the tart shells with just enough pastry cream to create a smooth surface for the fruit. Overfilling can lead to spills.
- Fruit Choices: Choose fruits that are in season for the best flavor and appearance. Berries, kiwi, and citrus fruits work wonderfully, but you can get creative with tropical fruits or stone fruits depending on the season.
- Make Ahead: You can make the tart shells and pastry cream a day ahead, then assemble the tarts just before serving for the freshest taste.
- Tart Shells Storage: Store any leftover tart shells in an airtight container at room temperature for up to 2 days. Once filled, it’s best to serve them within a few hours.
Recipe Variations for Mini Fruit Tarts
Here are 10 variations you can try for Mini Fruit Tarts:
- Chocolate Hazelnut Fruit Tarts: Add a layer of Nutella or hazelnut chocolate spread under the pastry cream for a rich, nutty twist.
- Lemon Custard Fruit Tarts: Swap the vanilla pastry cream for a tangy lemon custard for a zesty, refreshing flavor.
- Berry Mix Tarts: Use a combination of fresh berries like strawberries, blueberries, and raspberries for a vibrant, mixed-berry topping.
- Peach and Cream Fruit Tarts: Replace the mixed fruit with sliced peaches and a sprinkle of cinnamon for a late summer treat.
- Tropical Fruit Tarts: Use tropical fruits like mango, pineapple, and passionfruit for an exotic take on these tarts.
- Raspberry Almond Fruit Tarts: Add a layer of raspberry jam under the pastry cream, and top with sliced almonds for added texture.
- Coconut Cream Fruit Tarts: Use coconut cream in place of the milk in the pastry cream for a coconut-flavored filling.
- Chocolate Ganache Tarts: Fill the shells with chocolate ganache, and top with fruit for a chocolatey twist on the classic fruit tart.
- Gluten-Free Fruit Tarts: Use a gluten-free flour blend in place of the regular flour for a gluten-free tart shell.
- Vegan Fruit Tarts: Make a vegan version by using plant-based butter and a dairy-free custard made with coconut milk.
Freezing and Storage for Mini Fruit Tarts
- Freezing: You can freeze the tart shells before baking for up to 2 months. After baking and cooling, the assembled tarts are not ideal for freezing due to the fresh fruit topping.
- Storage: Store leftover tarts in an airtight container in the fridge for up to 1-2 days. The fruit may release moisture, so it’s best to consume them quickly for the best texture.
Special Equipment for Mini Fruit Tarts
Here are some special equipment items to make preparing your Mini Fruit Tarts easier:
- Food Processor: To quickly mix the shortcrust dough and ensure even texture.
- Mini Tart Pans: Use mini tart pans to get perfectly shaped tart shells.
- Pastry Bags or Piping Tips: If you want to pipe the pastry cream into the tart shells, a piping bag and tip are helpful.
- Measuring Cups and Spoons: Accurate measurements help achieve the perfect pastry dough and filling consistency.
- Whisk and Mixing Bowls: Essential for preparing the pastry cream and combining ingredients for a smooth mixture.
- Cooling Rack: A cooling rack helps the tart shells cool evenly before filling them.
Frequently Asked Questions for Mini Fruit Tarts
- Can I use a store-bought tart crust?
Yes, store-bought tart shells can be used if you’re short on time, though homemade crust offers a more authentic flavor and texture. - Can I use frozen fruit?
While fresh fruit is best for these tarts, you can use frozen fruit, but make sure to thaw and drain it well before using it as a topping. - Can I make the pastry cream in advance?
Yes, you can prepare the pastry cream ahead of time and store it in the fridge for up to 2 days. - Can I make these tarts gluten-free?
Yes, use a gluten-free flour blend in place of the all-purpose flour for the tart crust. - How do I keep the fruit from getting soggy?
Brush the fruit with a light layer of apricot glaze or preserves to help seal in moisture and maintain the fruit’s freshness.
Mini Fruit Tarts
- Total Time: 2 hours (includes chilling time)
- Yield: 12 servings 1x
Description
Mini Fruit Tarts are the perfect bite-sized dessert that combines buttery, flaky crusts with creamy fillings and a colorful array of fresh fruit. These delightful tarts are not only beautiful to look at but also offer a perfect balance of sweetness and tartness, thanks to the fresh fruit and the rich pastry cream. Whether you’re hosting a party, looking for a sweet treat to share, or just craving a light dessert, these mini fruit tarts are sure to please.
Ingredients
For the Crust:
- 1 ¼ cups all-purpose flour
- 2 tablespoons granulated sugar
- ½ teaspoon salt
- ½ cup unsalted butter, cold and cut into small cubes
- 1 egg yolk
- 2–3 tablespoons cold water
For the Pastry Cream:
- 1 cup whole milk
- ½ cup heavy cream
- 2 large egg yolks
- ¼ cup granulated sugar
- 1 tablespoon cornstarch
- 1 teaspoon vanilla extract
- 2 tablespoons unsalted butter
For the Fruit Topping:
- 1 cup mixed fresh fruit (such as strawberries, blueberries, kiwi, raspberries, or grapes)
- 2 tablespoons apricot jam (or any fruit preserves) for glazing (optional)
Ingredient Highlights
- Shortcrust Pastry: The buttery crust is essential for providing a sturdy yet delicate base for the tarts.
- Pastry Cream: The creamy filling made with milk, egg yolks, and sugar is rich and smooth, balancing out the fruit’s tartness.
- Fresh Fruit: A selection of colorful, fresh fruit adds both flavor and a vibrant look to the tarts.
- Apricot Jam: A light glaze of apricot jam enhances the fruit’s shine and adds a touch of sweetness.
Instructions
Prepare the Crust:
- Make the Dough: In a food processor, combine the flour, sugar, and salt. Add the cold butter and pulse until the mixture resembles coarse crumbs. Add the egg yolk and pulse again. Gradually add cold water, 1 tablespoon at a time, until the dough starts to come together.
- Chill the Dough: Turn the dough out onto a piece of plastic wrap, shape it into a disk, and wrap it up. Chill in the fridge for at least 30 minutes to firm up.
- Roll Out the Dough: Preheat your oven to 375°F (190°C). Roll out the chilled dough on a lightly floured surface to about ⅛ inch thick. Use a round cutter to cut out circles of dough that will fit into your tart pans.
- Fit Dough into Tart Pans: Gently press the dough circles into mini tart pans, making sure the dough lines the bottom and sides. Use a fork to prick the bottom of each crust to prevent air bubbles while baking.
- Bake the Crusts: Line the tart shells with parchment paper and fill with pie weights or dried beans. Bake for 12-15 minutes, until the edges are golden. Remove the parchment paper and weights, and bake for an additional 5-7 minutes until the bottoms are lightly golden. Let the crusts cool completely.
Prepare the Pastry Cream:
- Heat the Milk and Cream: In a medium saucepan, heat the milk and cream over medium heat until just simmering. Remove from heat.
- Whisk the Egg Yolks: In a bowl, whisk together the egg yolks, sugar, and cornstarch until smooth.
- Temper the Egg Mixture: Gradually pour the hot milk mixture into the egg mixture, whisking constantly to prevent curdling.
- Cook the Custard: Pour the combined mixture back into the saucepan. Cook over medium heat, whisking constantly, until the mixture thickens and comes to a gentle boil. Remove from heat.
- Finish the Pastry Cream: Stir in the vanilla extract and butter until smooth. Let the pastry cream cool to room temperature, then transfer to the fridge to chill for at least 30 minutes.
Assemble the Mini Fruit Tarts:
- Fill the Tart Shells: Once the pastry cream is chilled, spoon or pipe a generous amount into each cooled tart shell, filling it to just below the top of the crust.
- Arrange the Fruit: Arrange a variety of fresh fruit on top of the pastry cream, either in a decorative pattern or as a more casual mix.
- Glaze the Fruit: If desired, melt the apricot jam and brush it over the fruit for a shiny finish and added sweetness.
- Prep Time: 40 minutes
- Chilling Time: 1 hour
- Cook Time: 20-25 minutes (for tart shells)
Nutrition
- Calories: 150-170 kcal
- Fat: 8g
- Carbohydrates: 22g
- Protein: 2g
Conclusion
Mini Fruit Tarts are the ultimate bite-sized indulgence, combining a crisp, buttery crust with a velvety, smooth filling and topped with vibrant, fresh fruit. They’re perfect for any occasion—whether you’re hosting a party, treating guests at a gathering, or simply enjoying a sweet bite after dinner. With endless variations, you can mix and match your favorite fruits, making them a versatile treat for every season and taste.
The best part? They’re as fun to make as they are to eat, and their miniature size means you can enjoy a little bit of everything! I’m sure these tarts will disappear in no time at any event!
I’d love to see how your Mini Fruit Tarts turn out! Snap a pic, share it on social media, and tag me—I can’t wait to see your delicious creations. Happy baking!